
🕐14 min read
In This Article
Night Shift Survival Handbook
Sleep optimization, nutrition tips, and mental health strategies for night shift workers and night owls.
- The Foundation: Containers That Survive the Chaos
- Rice and Beans: The Reliable Base
- Kinetic Sand and Moldable Materials: The Longer Hold
- Water Play: Controlled Moisture Without Disaster
- Natural Materials: Leaves, Pinecones, and Seasonal Variety
- Specialty Materials Worth the Splurge
- Organization and Rotation Strategy: Making It Sustainable
- Safety Boundaries and Supervision Reality
Your toddler dumps the sensory bin across the kitchen floor within 90 seconds. Rice. Kinetic sand. Pom-poms. You stand there, coffee growing cold, wondering if this whole thing is worth the cleanup. But here’s what you might not realize: that moment—when your child’s hands are fully occupied, their attention locked onto the texture and movement in front of them—that’s when their nervous system actually settles. Sensory bins aren’t just trendy Pinterest projects. They’re a legitimate tool for developing fine motor skills, teaching focus, and creating pockets of genuine calm in the chaos of toddler parenting. The challenge isn’t whether to use them; it’s knowing which materials actually hold up to repeated use, which containers prevent messes from becoming disasters, and which combinations will capture your child’s attention for longer than a commercial break. This guide walks through the most effective sensory bin setups for toddlers aged 18 months to 4 years, with specific product recommendations, cost breakdowns, and honest notes about what works and what ends up in the trash.
Disclosure: This post contains affiliate links. If you click through and make a purchase, we may earn a small commission at no extra cost to you. Thank you for supporting this site!
The Foundation: Containers That Survive the Chaos
Before you fill anything, you need a vessel that won’t tip, shatter, or let materials escape onto your dining room rug. The container you choose determines whether a sensory activity becomes a contained learning experience or a 20-minute cleanup nightmare. Most parents reach for plastic storage bins, and that’s not wrong—but the specifics matter tremendously. A standard 18-quart Rubbermaid Brilliance container ($12–15) costs less than many specialty options and handles rough play well. The clear sides let your toddler see what’s happening, and the snap-lock lid actually seals, which prevents accidental spills when you’re moving it to storage. However, it’s shallow. For materials like kinetic sand or shredded paper that toddlers like to bury their hands in, you’ll want something with at least 8 inches of depth—minimum. The Rubbermaid Clever Store Latching Plastic Container (45 liters, ~$18) sits deeper and the latches are solid, though they’re slightly harder for little hands to work independently.
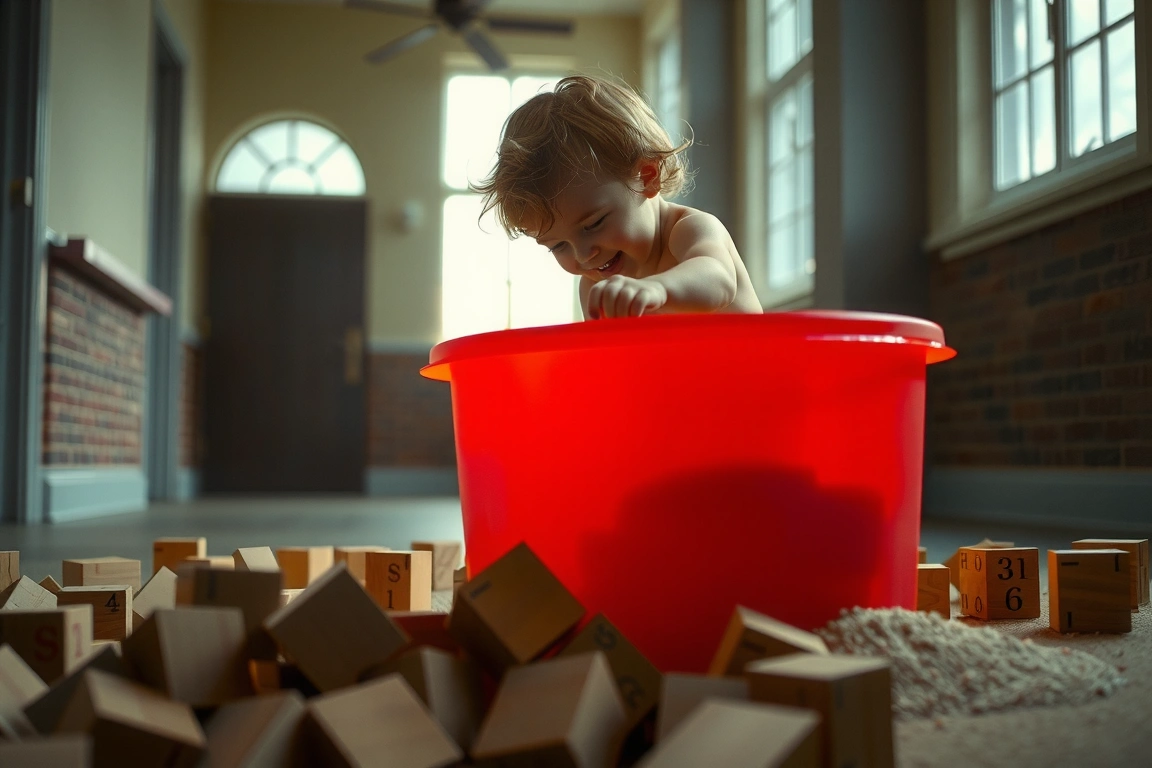
If you want something designed specifically for sensory play, the Storto sensory table ($80–120) offers a proper height and drainage, but that’s a serious investment if you’re just testing the concept. A middle-ground option: buy two Sterlite 64-quart plastic bins ($8–10 each) and nest them, with the inner bin holding materials and the outer bin acting as a catch-all for spills. This setup costs under $20 and handles even aggressive dumping. For toddlers who’ve mastered the art of tipping, the Guidecraft Sensory Table with trays ($65–90) keeps materials contained while allowing easy access and cleanup. Some families swear by repurposed hotel bus tubs (ask your local restaurant—many sell them for $5–10 used). The key metric: your container should hold at least 40 quarts, have sides at least 6–8 inches high, and allow you to see what’s inside without opening it. Don’t skimp on the lid. A loose-fitting cover defeats the entire purpose.
Rice and Beans: The Reliable Base
Uncooked rice remains the gold standard for a reason. A 10-pound bag of jasmine or long-grain white rice costs $8–12, provides roughly 20 cups of material, and lasts through dozens of play sessions before needing replacement (usually when it’s visibly dusty or contaminated). Rice flows smoothly through toddler fingers, creating sensory feedback without being too fine—it won’t choke a child who’s mouths it the way kinetic sand can, though supervision remains essential. The texture changes when wet (don’t do this indoors unless your sensory bin has drainage), and when dry, it pours satisfyingly through measuring cups and funnels. The main drawback: it can scatter. Even in a contained bin, determined toddlers find ways to fling rice across the room. Coloring rice with food coloring (mix with a bit of oil to prevent clumping) takes 10 minutes and makes the bin more visually engaging—though note that homemade colored rice doesn’t hold color as vividly as commercial options like the Sensory Minds colored rice sets ($12–15 per color).
Dried beans offer more texture variety and don’t scatter quite as aggressively. Black beans, pinto beans, and chickpeas feel distinctly different in the hand and make a satisfying sound when scooped and poured. A 2-pound bag of dried beans ($2–3) provides adequate material for a 20-quart bin. The drawback: beans are a legitimate choking hazard for children under 24 months and require constant supervision even for older toddlers. Some parents create “bean discovery bins” by burying small toys (not beads—still choking hazards) in the beans and letting toddlers dig for treasure. This adds purposeful play rather than just sensory exploration. Raw pasta (large penne or rigatoni, not tiny stars) works similarly—costs roughly $1 per pound, feels different than beans or rice, and poses less choking risk than beans, though supervision’s still necessary. The combination approach works well: fill the bottom 4 inches of your bin with rice, the middle section with beans, and top with a layer of pasta. This creates texture variation and extends engagement time from 10 minutes to 20–30 minutes with the same bin.
Kinetic Sand and Moldable Materials: The Longer Hold
Kinetic sand creates a completely different sensory experience from dry materials. It’s roughly 98% sand and 2% wax, which gives it that peculiar sticky-but-not-wet quality. A single 5-pound package of Kinetic Sand (around $12–15) lasts substantially longer than you’d expect because the material doesn’t dry out and doesn’t get “used up.” The same kinetic sand can be used for months—even years—provided it stays clean. Unlike play dough, which hardens and cracks, kinetic sand holds its texture indefinitely. For toddlers around 2–3 years old, it’s magnetic: they’ll mold it, squish it, press it into shapes, and bury toys in it for 45 minutes straight. Kinetic sand is less likely to scatter than dry rice because of that waxy coating. The real cost consideration: once you buy the first package, you’re mostly done. Yes, you can add more colors ($8–12 per package), but one package genuinely sustains extended play. Model Magic (air-dry clay alternative, $3–4 per package) offers similar hold-time but requires more active play and interaction from the adult. Regular play dough works too, costs around $1–2 per tub, but hardens within days and can stain clothing permanently if left in pockets.
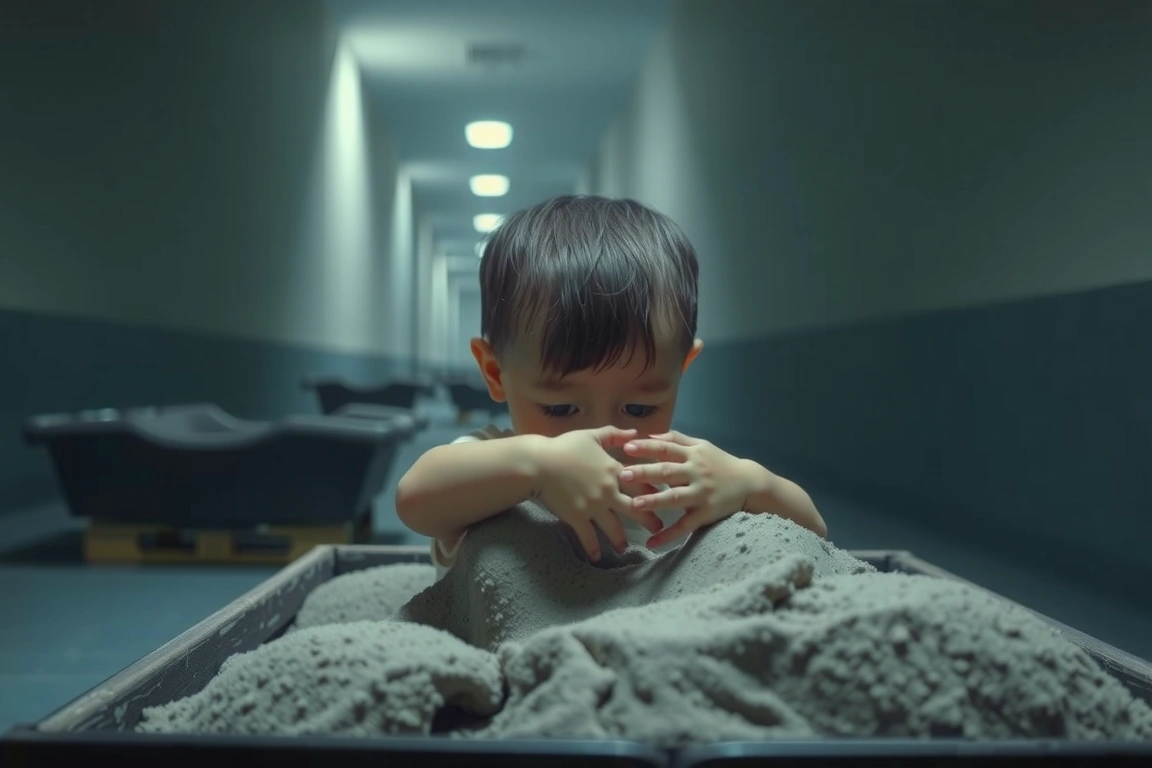
The setup matters. Kinetic sand works best on a contained surface—the sensory bin with a lid or, for older toddlers, a large rimmed baking sheet. Don’t mix kinetic sand directly with dry materials like rice or beans; it clumps and becomes unpleasant to handle. Instead, dedicate one bin to kinetic sand and another to dry materials, rotating them every few days to keep novelty high. A typical rotation: Monday–Wednesday, dry materials; Thursday–Friday, kinetic sand; weekend, introduce a new material like shredded paper or crinkle paper. This spacing prevents boredom and reduces the mental load of endless cleanup. If your kinetic sand starts picking up lint or loses its texture after extended use, you can refresh it by running it through a fine sieve or letting it sit in direct sunlight for a few hours. Yes, kinetic sand can be hard on clothing if it gets pressed into fabric, so establish a clear “sensory bin play happens in the kitchen” boundary and use a child-sized apron or old shirt as a protective layer.
Water Play: Controlled Moisture Without Disaster
Water-based sensory play needs intentional setup or it becomes a laundry emergency. The Sterlite plastic option mentioned earlier works here: the outer bin catches overflow, the inner bin holds water with bathtub toys, sponges, measuring cups, and funnels. Fill it to no more than 3 inches, which limits how much water ends up on the floor when (not if) it spills. A towel underneath is non-negotiable. If you’re using a sensory table with drainage, position it outside or on a patio during warm months. Epsom salt water ($3 for a 2-pound container) adds a different texture—it’s denser than fresh water, so toys float differently and it feels weightier in small hands. Ice water with a few drops of food coloring keeps engagement high in summer, though only for supervised 10–15 minute sessions; toddlers cool down quickly and hands get cold. Frozen cubes (make ice in silicon molds, add small toys before freezing) transform water play into a temperature discovery session.
The water play bin differs from dry sensory bins in one crucial way: it requires strategic spacing and timing. Use it after breakfast or lunch when accidents won’t ruin meals, and plan for significant cleanup. Your toddler will leave soaked; have a change of clothes and a towel waiting. Some parents set up water play outside in summer (fill a plastic bin, let it sit in direct sun for an hour to warm slightly, and set loose) or in the bathtub with a towel spread across the floor for spill containment. The bath option adds 15 minutes to your evening routine but eliminates the mystery of where the water goes. For winter, swap water play for dry sensory bins or kinetic sand—the logistics of wet play indoors just don’t justify it when the outdoor light is gone by 4:30 p.m.
Natural Materials: Leaves, Pinecones, and Seasonal Variety
Free sensory materials are scattered across your yard or nearby parks. Fall is the obvious season: collect leaves in varying states of dryness, pinecones, acorns, and twigs. A grocery bag stuffed with autumn materials costs nothing, provides novel textures, and satisfies toddlers’ drive to collect and examine. Pile these into your sensory bin with no other additions—the variation is enough. Winter offers bare branches, ice-dried leaves, and potentially snow (yes, sensory bins work with clean snow; expect major water aftermath and limit sessions to 15 minutes). Spring brings fresh leaves, flower petals, and grass clippings. Summer is ideal for sand (beach or play sand from a hardware store; 50-pound bags cost $15–20 and last multiple summers) mixed with digging tools. Potting soil or peat moss ($4–6 per bag) mimics a garden dig without the actual yard damage—toddlers bury toys in it, excavate them, and feel that primal satisfaction of making a mess productively.

The caution here: inspect natural materials before adding them to a sensory bin. Small twigs shouldn’t be splintery; leaves shouldn’t have visible mold; sand should be rinsed if it’s been sitting outdoors for weeks. One afternoon of prep prevents three nights of googling “rashes toddlers” online. Some families add toy insects (plastic bugs from dollar stores, $2–4) to natural material bins to encourage imaginative play alongside sensory exploration. A 20-quart bin filled with fresh mulch and a handful of plastic beetles keeps a 2.5-year-old occupied for 40 minutes while you meal-prep. Yes, it’s messy. Yes, they’ll find mulch in their hair. But the cost is near-zero and the engagement is real. Rotate seasonal materials every 2–3 weeks; the novelty of “aha, leaves are back” maintains interest better than a static setup.
Specialty Materials Worth the Splurge
Beyond the basics, certain materials justify their premium pricing because they hold engagement dramatically longer. Sensory beads (water-absorbing polymer beads that grow from tiny spheres to the size of marbles when soaked—brands like Orbeez, $6–10 per bag) transform multiple times. Start dry, they’re small and colorful. Soak them, they become translucent and bouncy. Some toddlers are mesmerized by the transformation; others lose interest immediately. Test with a single 5-ounce bag before buying multiple colors. Shredded paper (from a paper shredder or dollar-store crinkle paper, $1–3 per bag) offers different acoustic feedback—it crinkles, tears further, and compresses easily. Mix it with dry rice for an audio-tactile combo. Kinetic foam (Air-Dry Clay alternative, $4–6 per container) won’t stick to hands the way kinetic sand does, so it’s suitable for toddlers who hate getting their hands “sticky.” Moon sand (kinetic sand alternative; slightly different texture, roughly $10–15) or DIY kinetic sand (cornstarch, hair conditioner, and food coloring mixed; cost under $2 per batch) extend your budget if you’re setting up multiple bins.
The premium spend makes sense when you’re managing multiple sensory bins for different sensory profiles. If your child seeks intense tactile input, invest in kinetic sand and moldable materials. If they’re noise-sensitive, stick with dry materials and water. If they have strong preferences around “mess,” kinetic sand’s low-scatter design justifies the cost. However, the honest truth: 80% of extended engagement comes from novelty and rotation, not from premium pricing. A $3 bag of dried beans rotated into the bin after a two-week absence captures attention as effectively as a $12 specialty product. Don’t feel obligated to buy every branded sensory product on Amazon. The bins that work longest-term are the ones you actually use consistently, which means low complexity and minimal setup friction. This usually means rice, beans, and kinetic sand—not a closet full of 15 specialty materials gathering dust.
Organization and Rotation Strategy: Making It Sustainable
The difference between sensory bins that become a permanent kitchen fixture and those that get abandoned in a closet within weeks is organization. Establish a rotation system. Label each bin with its contents and a small card noting setup date. Most materials last 2–4 weeks before they need refreshing (dry materials get dusty, anything exposed collects crumbs and debris). Create a visual schedule: a simple calendar showing which bin is active this week, which one gets stored, and which one is prepped for next week. Use a dedicated storage shelf or closet—ideally one your toddler can’t access without your help, preventing the “let’s dump three bins at once” scenario. Clear plastic bins for storage let you see what’s inside and rotation becomes easier. Label with painter’s tape and a permanent marker. This takes 10 minutes and saves hours of “where did we put the colored rice” searches.
Assign a cleanup protocol before play begins. Walk your toddler through it once, and it becomes routine: “We scoop, we pour, we fill. When we’re done, we put everything back in the bin and close the lid.” This isn’t going to prevent all spills, but it reduces the psychological resistance to cleanup and teaches your child that sensory play has boundaries. A dedicated hand-vac or small dustpan lives near the sensory station. Paper towels and a spray bottle of diluted white vinegar (for quick cleanup of sticky residue from kinetic sand) sit within arm’s reach. This sounds fussy, but 18 months into regular sensory bin use, the difference between homes with established protocols and homes without is staggering. The organized home still does sensory play. The disorganized home stopped three months ago because cleanup felt impossible. Invest 30 minutes in setup now and you’ve bought yourself 18 months of consistent quiet play time for your child.
Safety Boundaries and Supervision Reality
Sensory bins are not unsupervised activities. Let’s be clear on that. Rice won’t asphyxiate a child, but kinetic sand has caused choking incidents (extremely rare, but documented). Dried beans are actual choking hazards. Water play can result in water aspiration if your toddler tips their face into the bin. The phrase “supervise closely” gets thrown around, but here’s what it means in practice: you’re in the same room, you can see the bin and your child simultaneously, and you’re not absorbed in your phone. You’re watching for materials heading toward mouths, for tipping hazards, for hand-in-mouth behavior. For toddlers under 24 months, only bean-free, choking-hazard-free materials apply (rice, kinetic sand, kinetic foam, shredded paper). For toddlers 24–36 months, beans and pasta are acceptable with supervision. For toddlers over 36 months, virtually anything in this guide is appropriate if you’re present.
Set explicit ground rules before each session. “Sand stays in the bin. Hands stay clean before snack.” Enforce consequences gently: sand in the mouth
Related from our network
Are sensory bins really worth the setup and cleanup for toddlers?
Absolutely. Beyond the initial mess, sensory bins are a legitimate developmental tool. They help settle a toddler’s nervous system, build fine motor skills, and teach focused, calm play. The key is using the right container and materials to maximize engagement and minimize cleanup, turning a brief activity into a valuable learning experience.
What is the best container to use for a toddler’s sensory bin?
Choose a durable, tip-resistant container with a secure lid. We recommend a standard 18-quart clear plastic storage bin, like the Rubbermaid Brilliance. Its snap-lock lid prevents spills during storage, the clear sides enhance visibility, and its sturdy construction can withstand rough toddler play, helping to contain the activity and simplify cleanup.
How do sensory bins help my toddler’s development?
Sensory bins directly support key developmental areas. They provide essential tactile input that can calm the nervous system, while the act of scooping and pouring builds crucial fine motor skills. This focused, hands-on play also teaches concentration and can create valuable moments of calm, structured engagement in your child’s day.
What age is appropriate to start using sensory bins?
Sensory bins are ideal for toddlers aged approximately 18 months to 4 years. Within this range, activities can be tailored to your child’s specific abilities. Always supervise play closely, especially with younger toddlers, and choose materials sized appropriately to prevent choking hazards.
You Might Also Like


Stories From the Graveyard Shift
True stories from nurses, truckers, hotel clerks, and security guards who work while the world sleeps. Weekly dispatch.
No spam. Unsubscribe anytime.
